
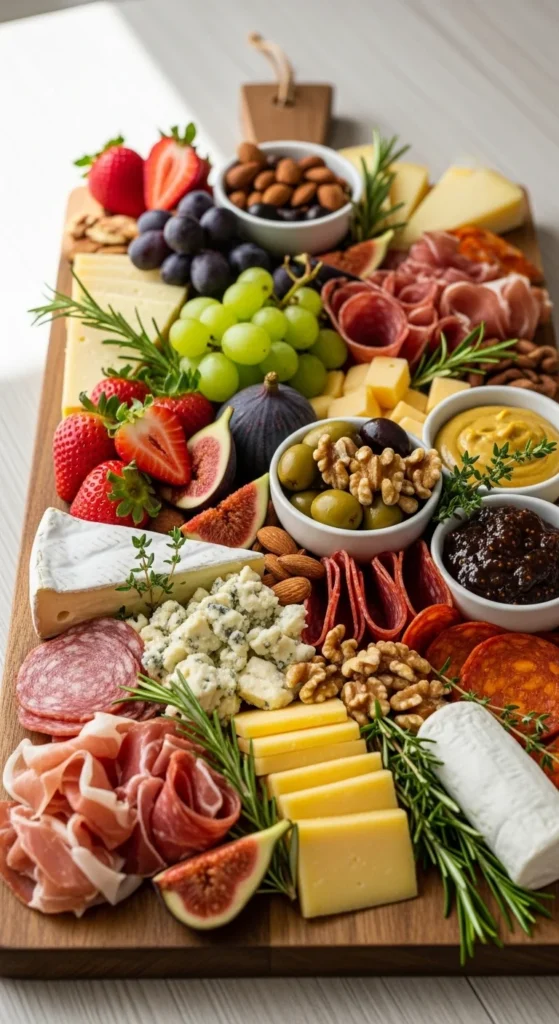
A beautifully arranged charcuterie board is the ultimate crowd-pleaser for any gathering. Whether it’s a casual lunch with friends or a sophisticated brunch, the right mix of cheeses, meats, and accompaniments can elevate your meal to the next level. And the best part? It doesn’t have to be difficult to create! With a little creativity and a few simple tips, you can assemble a charcuterie lunch board that will wow your guests and make you look like a pro.
Step 1: Choose the Right Base for Your Board
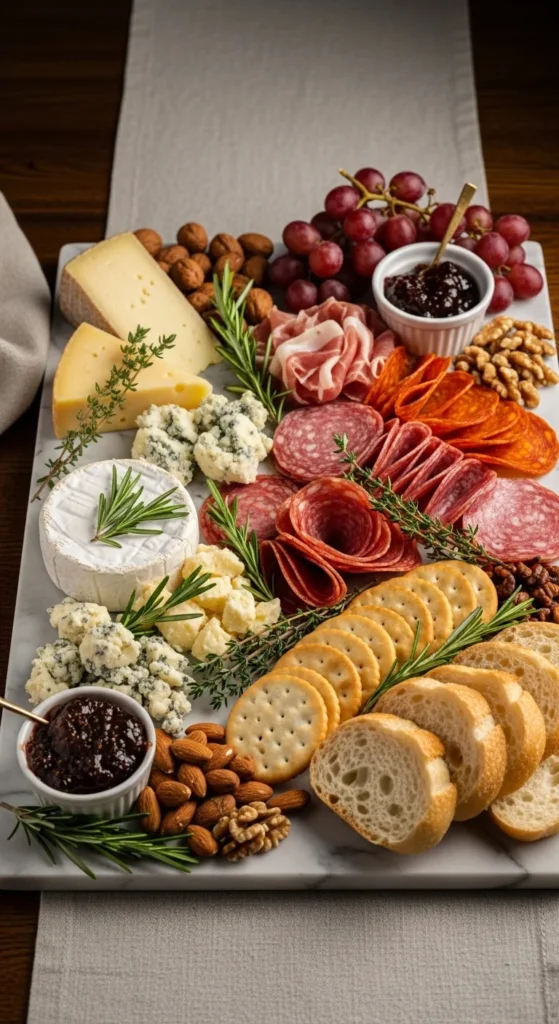
The foundation of any great charcuterie board is the board itself. While you can use a cutting board or a wooden plank, you can also get creative and use a large tray or even a marble slab for a more elegant look. Make sure your board is big enough to hold all the delicious items you plan to display, and choose one with a neutral color or wood grain that won’t overwhelm the ingredients.
Tips for Selecting the Perfect Base:
- Size Matters: Choose a board large enough to fit your ingredients but not so large that it looks sparse.
- Material: Wood, slate, and marble are all great options. Wood adds rustic charm, while marble provides a modern, sophisticated touch.
- Shape: Rectangular or circular boards work well. Experiment with a mix of shapes to make your display more dynamic.
Step 2: Pick Your Cheeses
Cheese is the star of the show when it comes to charcuterie boards, so make sure to select a variety that will please all palates. Aim for a mix of textures and flavors: creamy, firm, tangy, and mild. Here’s how to diversify your cheese offerings:
- Soft cheeses: Brie, camembert, goat cheese, or cream cheese
- Hard cheeses: Aged cheddar, gouda, or manchego
- Blue cheeses: Gorgonzola, roquefort, or stilton
Tips for Cheese Selection:
- Balance: Choose at least one soft, one hard, and one blue cheese for variety.
- Portion sizes: Plan for about 2-3 ounces of cheese per person.

Step 3: Add Cured Meats
Next, you’ll want to add a variety of cured meats. Meats like prosciutto, salami, soppressata, and chorizo add a savory richness that pairs perfectly with your cheeses. When arranging them, fold or roll the slices to create visually appealing layers and textures.
Tips for Meat Arrangement:
- Variety: Include at least three types of cured meats, each offering a different texture and flavor profile.
- Rolling or Folding: Rolling or folding the meats gives the display a sophisticated, textured look.
- Layering: Create different sections for the meats to keep the board visually interesting.
Step 4: Add Complementary Accompaniments
To make your charcuterie board truly stunning, you need to add some complementary items. Think fruits, nuts, spreads, and crackers. These ingredients not only enhance the flavors but also add beautiful color to the display. Here’s what you can include:
- Fruits: Grapes, berries, figs, or apple slices
- Nuts: Almonds, cashews, or pistachios
- Spreads: Honey, fig jam, or mustard
- Pickles: Olives, cornichons, or pickled onions
- Crackers & Bread: Crostini, baguette slices, or breadsticks
Tips for Adding Accompaniments:
- Color Variety: Choose fruits and veggies that offer a pop of color, like strawberries, grapes, and olives.
- Texture: Mix crunchy elements (crackers, nuts) with creamy ones (cheese, spreads) for a balanced texture experience.
- Small Containers: Use small bowls for jams, honey, and olives to keep everything tidy and easy to grab.

Step 5: Garnish and Final Touches
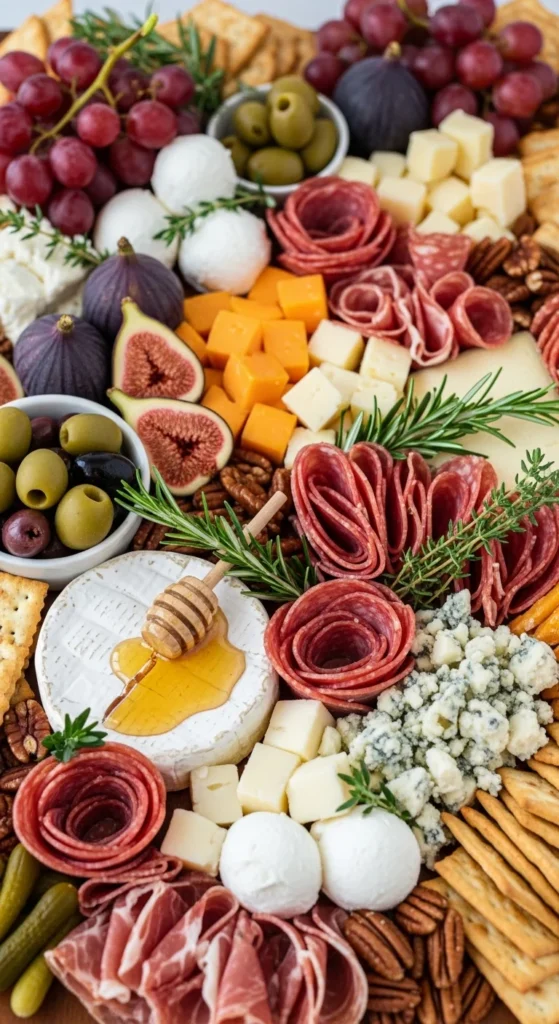
Once your ingredients are arranged, it’s time for the finishing touches. Garnish the board with fresh herbs like rosemary, thyme, or basil to add a burst of green. You can also drizzle a little honey over the cheese or sprinkle some crushed pepper over the meats for added flavor and visual appeal.
Final Touch Tips:
- Herbs: Fresh rosemary and thyme add a fragrant touch and pop of green.
- Honey Drizzle: Drizzling honey over a soft cheese like brie or goat cheese enhances the flavors and makes the board look more polished.
- Edible Flowers: For a more extravagant look, consider adding a few edible flowers.
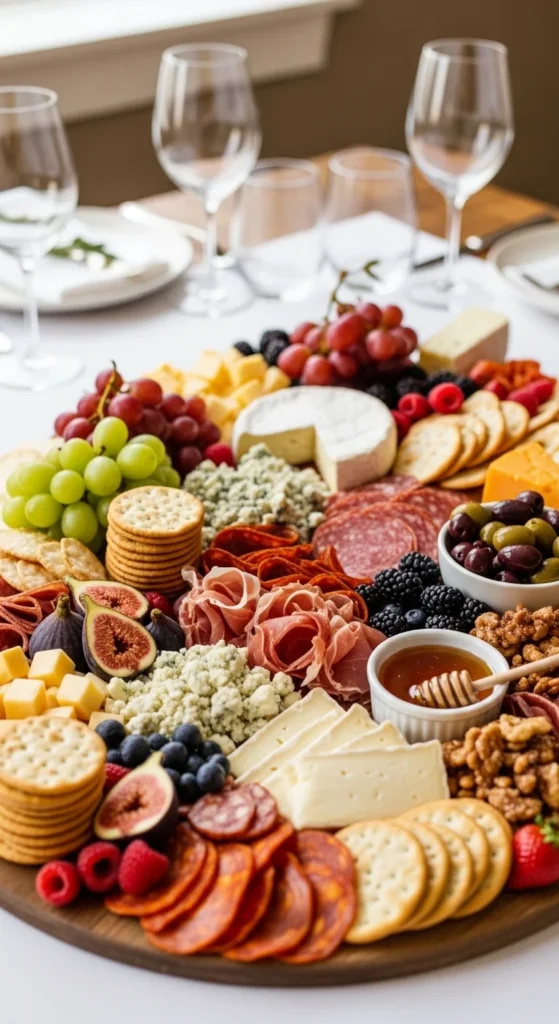
Conclusion: A Perfect Charcuterie Lunch Board Awaits!
Now that you know how to make a stunning charcuterie board for your guests, it’s time to put your creativity into action! Whether you’re hosting a small lunch or a larger gathering, this easy-to-make yet visually striking board will surely impress everyone. Don’t forget to save this guide for your next event, and remember: the key to a beautiful charcuterie board is balance—mix textures, flavors, and colors for a feast that’s as pleasing to the eyes as it is to the taste buds.
Save this idea for your next gathering, and get ready to share the deliciousness!
Leave a Reply